Showing posts with label collage. Show all posts

Friday, 29 April 2022

A Stencilled Staircase Showcase - a StencilGirl® Project

Hi, servus and thanks for stopping by today! Over on StencilGirl Talk I am sharing my latest quarterly column and before I start with telling you a bit more about it, I feel I need to thank Mary C. Nasser for the "Stencilled Staircase Showcase" title  - I was struggling with coming up with a good title for my column and project and she helped me with that (this way we found out that we both just loooove alliterations ;). 


Our timber house's staircase needed some wall decoration I found - and my recent new "dental adventures" had meant a little set-back concerning my panic attacks and shaking hands issues - so I needed some creative me-time where I could practise some mindfulness during the creative process. 

The main idea for the wall art piece originated from this strip of press board that I rescued from going to the waste disposal site (it was a protective "sheet" that came with a piece of furniture). It was a perfect fit for our staircase wall and its width to me seemed the perfect "frame" for a lovely collection of ATC sized collages with stencilled papers. 


I stencilled and stippled a lot and especially enjoyed the relaxing repetitive nature of the whole project - perfect for getting into the flow! To find out about the finished project, stencils used and how it looks on the wall of our staircase, simply click HERE to get to the blog post with steps images, some hints and more eye candy. 


Hope to see you over there!

Stay safe and creative!

Claudia

xxx


Monday, 10 August 2020

Heroes - a DecoArt Project

Servus, hi and thanks so much for taking the time to stop by my little (quite quiet) creative corner.

I haven't posted much lately as I am having to take a break from some of my already few design team commitments - due to health issues that I can no longer ignore.
I am in the middle of a struggle with a panic disorder that has obviously built up during the last fifteen months (being caused by menopause having hit hard last year) and has now struck me full blow.
Shaky hands and panic attacks caused by just sitting down at my craft desk and trying to tackle (even far away) deadlines are a nasty thing to have - especially when it concerns a hobby you think (or thought) you love. So obviously I will need to find new ways to go on with being a creative (which I have no doubt I am). Gladly I am in the very lucky position that some of my design team terms have just ended and that I am also on design teams where members are being cared about; so special agreements could be made. This way I didn't have to completely leave them all!

Sounds worse than it is actually (or maybe it doesn't) - but there's no need to feel sorry for me. I've already hit rock bottom and finally accepted my current situation - so the only way from now on can be upwards again. ;)

But there are of course also better days when my muse seems to be around and when I obviously manage to not be fixed too much on a deadline or the needed perfect (uh oh! Killer!) result of a project. So this week is going to bring you even two new projects and tutorials instead! Today's post is the invite over to the DecoArt Blog, where I am sharing a little altered mixed media tray that was a true pleasure to create.


It originated during my attempt to do a bit of tidying up in and around my craft space - which I find often sparks ideas for new projects (I guess because it is definitely more fun than a proper tidy up). I was right about to store away the little tray (the post on the DecoArt Blog reveals what it held in the first place), when I saw the drawer with my hoarded Tim Holtz paper dolls....and there it was!

The quote and melancholic feel to it were inspired by Peter Gabriel's fantastic cover version of David Bowie's wonderful "Heroes" - a song that never fails to deeply touch me. I have obviously heard it lately (I think it was used in a TV series or documentary or so) and it seems it was still spinning round in my head and needed to come to the surface.


As always there is a detailed tutorial with lots of steps images to find on the DecoArt Blog. Simply click HERE to get to the blog and check it all out. I hope to see you over there soon! And don't forget to pop by tomorrow for another project and tutorial!


Hugs and happy summer crafting!
Claudia
xxx


Monday, 6 July 2020

The Start of a "House Journal" - a Calico Craft Parts Project

Servus, hi and thanks for stopping by! I hope you've had a lovely weekend!

It's Calico Craft Parts time today and over at their BLOG I am sharing the first piece of a kind of House-Journal I have been wanting to create for a long time, but haven't found the courage yet to start. But finally I took the first plunge and the first house is waiting for you to be visited ;)

A sneak peek should give you a first impression on what kind of mixed media project is waiting for you. Of course there is a step by step as well as loads of pictures and the lists of the Calico Craft Parts and DecoArt media products and paints used as well. Simply click HERE (or on the picture) to get taken to the blog post.


Hope to see you over there soon!

Have a good start into the week!
Claudia
xxx


Tuesday, 17 March 2020

Art Journal for MarteLAB

Servus, hi and I hope you're all well and not affected too much by the spread of the Corona virus and whatever this brings along!

All over the world nations are trying to starve out the spread and to cope with how this affects everyday life and keeping one's spirit up while facing extraordinary times in isolation...over here in Austria people are advised to keep to themselves and not leave the house other than to shop for food or medicine (or walk their dogs) at least for the next four weeks (but very likely we will have to stick to that for longer than that).

It's spooky having the tele on to not miss any new announcements and directories from our government and one of our two main Austrian TV stations is reserved for broadcasting info on Corona crises developments and measures being taken all day only instead of the usual children's and entertainment program.
Seeing people hoard toilet paper (of which nobody really understands and knows why) and buy survival stock of canned food, water and what have you as if preparing for an atomic threat makes the whole situation even more unreal and weird to be honest. And the fake news that spread so easily across the internet these days bring the most ridiculous "facts" that either make people panic even more or get them to think it is all once more just a joke or the usual conspiracy of the industry or something like that.


Staying at home can be hard for people who are used to leave the house to go to work or school and who have mainly out door hobbies - but luckily crafters and mixed media fans never are at risk of not knowing what to do with their spare time, right?

And to brighten up the mood I have made something play- and colourful for you - another art journal cover - this time using Eileen Hull's "Passport" die, some Aall & Create stamps and stencils and DecoArt media fluid acrylic paints and my Gelli Pate.


Over at the MarteLAB blog there's a stepped out tutorial as well as the list of what I have used to create this art journal. Simply click HERE to get to the tuto with a lot of steps images. I hope this will brighten up your mood! Hang in there, all of you!


Stay safe!

Claudia
xxx


Thursday, 27 February 2020

Mixed Media Entomology - a DecoArt Mixed Media Project and Tutorial

Hi, servus and thanks so much for stopping by!

Today's post is an invitation to check out my latest project and tutorial for the DecoArt Mixed Media Blog.

My love for insects should be a well known fact by now - and this project is once more inspired by "bug beauty" ;)


I've found a cool and easy way to create my own beetle by using specific supplies that are usually meant to enhance human beauty...if you want to find out what it was that I've used, simply click HERE to get taken to the blog post with the tutorial and a list of all the paints, products and cheap little "specialities" it needed to get my gorgeous bug done.


Of course there had to be some yummy texture and crackle too! The tuto also covers how these were done of course.


I hope you like my project and the tutorial! Get inspired to create your own glamorous and fascinating specimen! It is really easy and quickly done - and great fun too! See you over at the DecoArt Mixed Media Blog!

Hugs and happy crafting!
Claudia
xxx


Wednesday, 1 January 2020

Le Roi Frédéric - Steampunk ATC for SanDee&amelie's Steampunk Challenges

Hi, servus and welcome to this year's first design team post for SanDee&amelie's Steampunk Challenges! May the new year bring you loads of good health, joy and success in (not just) your creative endeavours!

Over at SASPC we're kicking off the new year with another

"Anything Goes - Steampunk/Industrial" 

challenge - so you are free to create away as long as you make sure you follow our few rules and as there is a touch of steampunk or industrial style to your makes.

I decided to start small this year and do an ATC - one of my favourite formats to work on.


Meet "le roi Frédéric"! Doesn't he just look like a truly honourable man? His crown is made of a kind of book page feathers - I just love it!


It's a cut out from one of my two Spellbinders "Media Mixage" Ephemera paper pads designed by Susan Lenart Kazmer. Together with the gorgeous MDF steampunk ATC frame from Calico Craft Parts, Seth Apter's awesome "Chunky Rust" Baked Texture embossing powder, my beloved black Stabilo All aquarellable pencil and DecoArt media fluid acrylics I had a lot of fun piecing it all together.

Especially the Chunky Rust looks great on top of "Burnt Orange" Americana acrylic paint (which I used as an adhesive for the embossing powder). Later I dabbed on some DecoArt media Diarylide Yellow fluid acrylic paint here and there and also inked the outer edges of the ATC frame with a piece of blending foam and black archival stamping ink.


I added diluted DecoArt media Carbon Black Antiquing Cream on top of the heat set Baked Texture to darken the look. Finishing touches were done using media fluid acrylics Prussian Blue Hue and Diarylide Yellow.

The shading in the background around Frédéric was done using the black Stabilo All aquarellable pencil and a soft wet detail brush. Using the same method I also shaded lightly around the glued on ephemeras' edges for more depth.


As glue I used DecoArt Americana "Antique" Decou-Page that already has a light brown-ish tint to it - so it slightly tones down the collage pieces while you're gluing them in place. 

Our challenge is - as always - open until the end of January and - thanks to our wonderful sponsors DecoArt and boozybear who have generously decided to be with us for another year we are able to once more offer two fabulous prize packages that go to two randomly chosen players among all proper entries. For more information and to check out my wonderful team's makes simply click HERE to get taken to our challenge blog post. I hope to see you over at SanDee&amelie's Steampunk Challenges soon! 


Hugs and happy 2020 crafting!
Claudia
xxx


Thursday, 18 July 2019

Pod of Whales Notebook - a Gelli Arts & DecoArt Project

Hi, servus and thanks so much for stopping by!
I hope you have been enjoying a lovely summer so far!

Today's post is meant to invite you over to the DecoArt Mixed Media Blog, where the DecoArt Mixed Media Design Team are sharing projects throughout this month that were all done using Gelli Arts products (Gelli Plates and Gelli Arts gel printing tools) and the wonderful DecoArt premium acrylic paints. A round up of all the projects for July can be found HERE.

The team were all given Gelli Plates and brayers, so we could go wild and experiment and indulge in heavy gel plate printing with creating piles of beautiful prints, some of which we used to create a bundle of summer themed inspiring projects that will all be shared on the Mixed Media Blog during July. You even get the chance to win a fab bundle of Gelli Arts and DecoArt products! Information on how to enter the giveaway can be found over at the DecoArt Mixed Media Blog as well as the Gelli Arts blog.

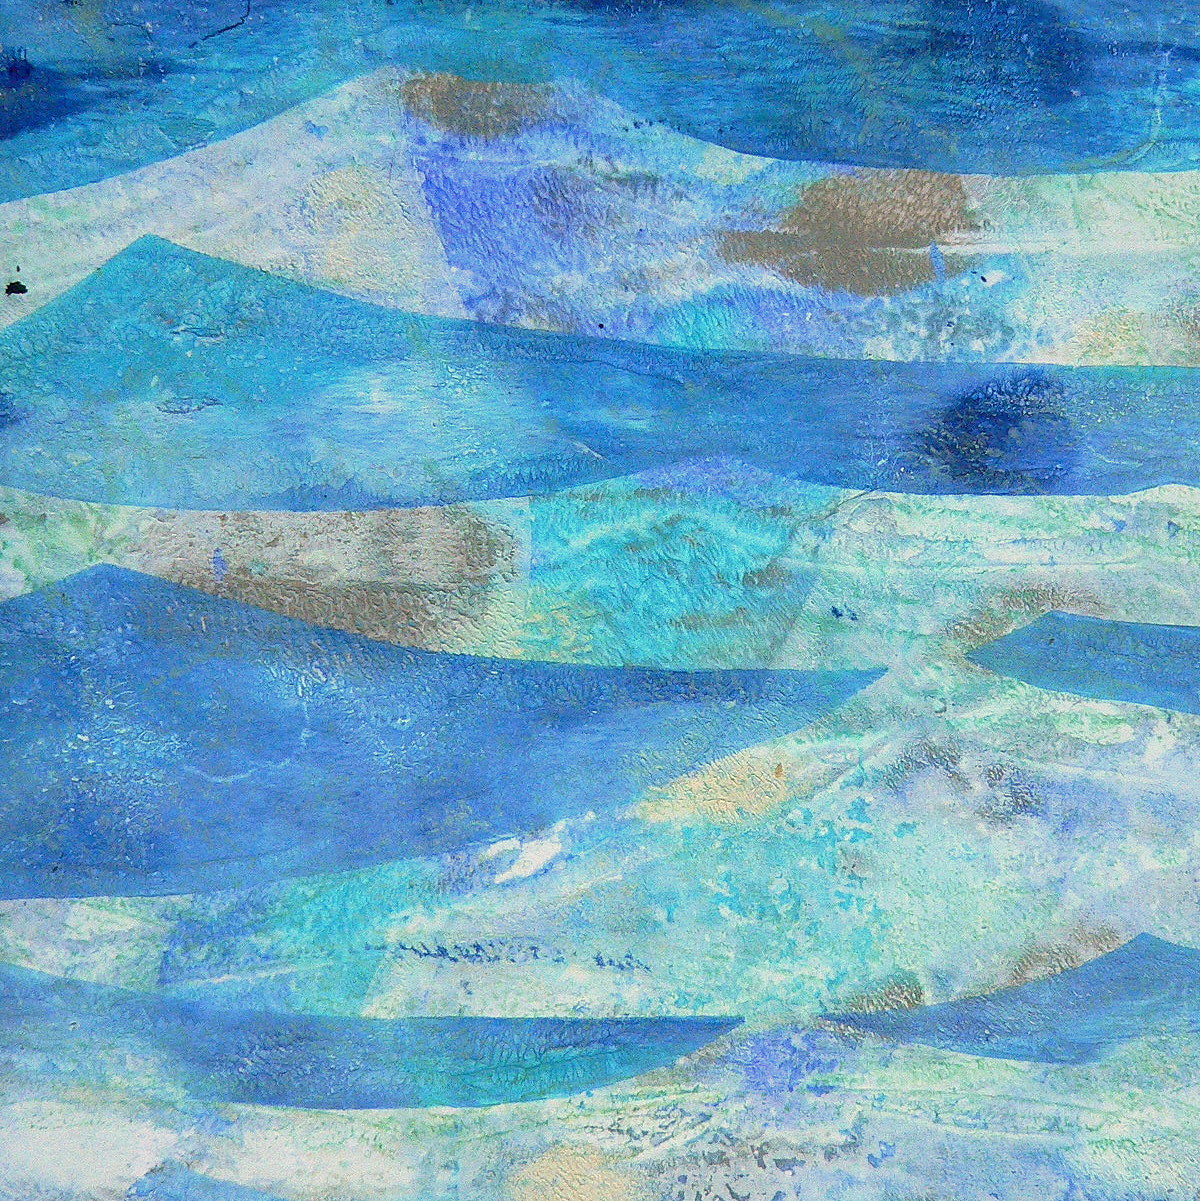
My project that goes live today was inspired by my love for the ocean and especially for whales, so I went for refreshing blues and greens when picking paints for my gel plate prints ;)


Here's a picture of my work space covered with the Gelli Arts texture tool (the Gelli Plate is hidden somewhere underneath the prints), DecoArt premium (and Americana Titanium White) paints and the prints I had picked for creating my Mixed Media Blog project.


...and here (yay...just found it again!) is the picture that shows all the DecoArt premium paints and Gelli Arts Gelli Plate and special tools I used (and also the die cut masks and foam stamps I used to create my collage papers). Somehow the brayer I used didn't make it into the picture, but it is somewhere close by... no gel plate printing without a proper brayer to spread the paints, right?


In my tutorial that can be found over at the DecoArt Mixed Media Blog today, I am not only sharing a detailed step by step on how to make gel plate prints using masks and stencils and how to create an art journal using these prints together with grey board and cutting die, but I am also sharing how to use the papers you clean the brayer on and make them part of the finished project.


Curious? Good! 

I hope to see you over at the Mixed Media Blog. And good luck with the prize draw!!! ;)

Hugs and happy crafting!
Claudia
xxx


Thursday, 24 May 2018

Skeleton Key - a Mixed Media Assemblage with DecoArt media

Hi, servus and welcome to a short post today, in which I would like to invite you over to the DecoArt Mixed Media Blog, where my latest DT make has just gone live.

I love collecting ephemera and found objects of all kinds. Beautiful pages from old dictionaries make fantastic backgrounds, but also offer beautiful vintage words to use in your art. Assemblage art is the perfect way to use some of your treasures and turn them into a piece of art that will beautifully display them and give them new meaning. And with the aid of one or the other DecoArt media product you can fuse all your treasures into one piece of assemblage art that tells stories of beauty and decay.

Some of you may remember that I have shared this detail shot on facebook (and maybe instagram too) a while ago...


...now I can finally show you the finished project:


To find out how I did it and which media I used simply click HERE to get taken to the DecoArt Mixed Media Blog post. Hope to see you over there!

Hugs and happy crafting!
Claudia
xxx


Wednesday, 16 May 2018

Guy Style at Emerald Creek Dares

Hi, servus and thanks for stopping by!
It is time again for me to share my DT project for Emerald Creek Dares and this month's challenge theme is "Guy Style" - which is totally up my street!

When I hear guy or male style, I think about metal, grunge, rusty and industrial style stuff. Perfect for using some of my all time favourite embossing powders from the amazing Emerald Creek range!


I have used Emerald Creek embossing powders Hammered Metal, Burnt Copper Leaves, Ultra Thick Clear Gloss and Doubloon Gold alongside Baked Textures Ancient Amber, Vintage Beeswax and Rocky Road on this tag.


As I knew I was going to give the tag some rough treatments with loads of collaged on and scraped on layers, I decided to use one of the Calico Craft Parts MDF tags as a substrate to work on.
I also took the opportunity to use my newly bought Pete Hughes Circle Mask die from Sizzix alongside some of Seth Apter's fab Spellbinders dies.


Burnt Copper Leaves, Ancient Amber Baked Texture and Hammered Metal were used to heat emboss my first die cuts. I also used a left over die cut that had been heat embossed with Doubloon Gold.


The Hammered Metal "dots" on my tag are actually the cut outs from Pete Hughe's Circle Mask die ;)


Then I rummaged my box with left over die cuts from previous projects and found an old die cut (done with one of Seth Apter's fabulous dies) that I wanted to give more dimension to. So I heat embossed that one with two layers of the Ultra Thick Clear Gloss Enamel.


Vintage Beeswax Baked Texture is perfect to tone in any chipboards like this Tim Holtz paper doll that I wanted to have a more brownish tint instead of the original greyish one.


The MDF tag was covered with an old dictionary page that I toned down with tea dye Distress stain.


Then I scraped on some Fresco Finish Paper Artsy paints using a palette knife.


Black soot Distress Crayon was used to darken the tag's edges.


Rocky Road Baked Texture was added here and there for additional texture and patterns. To do so I dabbed some embossing ink from my dabber onto my craft sheet, picked that up with a palette knife and randomly scraped that across the tag before I sprinkled the embossing powder on.


Some Tim Holtz stencils and black archival stamping ink were used to add additional patterns.


As the background was way too noisy at that stage, I decided to tone everything down with a coat of Titanium white DecoArt media Antiquing cream.


Once the Antiquing Cream had dried, I used a soft damp cloth to wipe it back until I was content with the look of my background.


The heat embossed elements, some word stickers and my paper doll were glued in place using matte Decou-Page. I also added some doodling and shading with a white gel pen and a black aquarellable pencil.


I finished the tag off by stamping on some stitch patterns around the edges and adding a clip on top.

The actual Dare at Emerald Creek Dares is still open and by playing along you get eligible to win a


to spend at the online store! So don't miss the chance and show us your "Guy Style" projects!

Hugs and happy crafting!
Claudia
xxx