Sunday 29 March 2015

"Reef in a Box"

Servus and welcome to a rather colourful post on a rather grey in grey day (at least over here in Vienna).

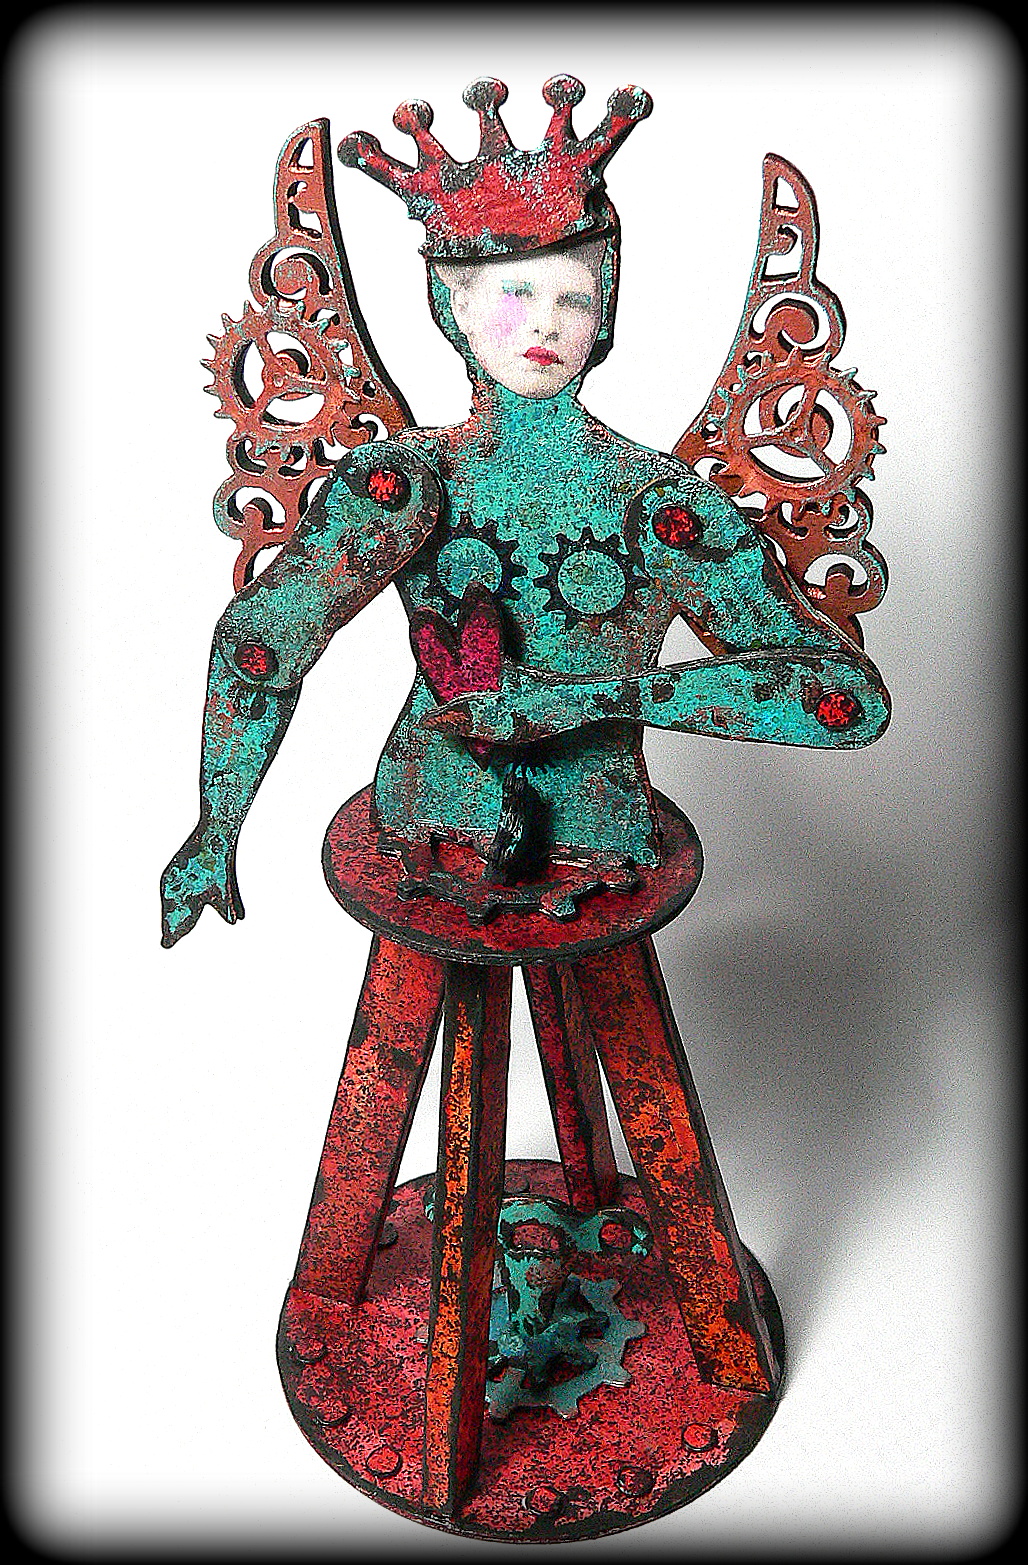
I had this small wooden box lying around in my studio for quite some time now - waiting for the right idea to come along. I am a hoarder of boxes....all waiting for that inspirational spark to hit my brain so they can be transformed into something new and full of wonders.

When I was tidying up my desk and also sorting some of my rather unorganized boxes with loads of tiny bits 'n bobs in them yesterday, I stumbled upon three wonderful shiny red glass beads in the shape of fish (which I had also been hoarding for ages). Then there was this stack of Gelli prints sitting on my desk too....and all three together suddenly totally made sense: they had to become a tiny "reef in a box" to play with (or simply to look at and take you on a short (and completely dry) snorkeling trip!


I used some wire to put the fish on so they could be moved sideways and change position.


The background was a Gelli print I cut to size and glued to the inside of my box using DecoArt matte Decou-Page. The sea plants and corals were die cut and painted, some of them also were treated with DecoArt clear Crackle Glaze and Antiquing Creams to add some texture. The reef they're sitting on was torn from designer paper.


The outsides of the wooden box were painted with DecoArt Americana Chalky Finish paint "treasure" and Americana acrylic paint "Citron Green".

The words were written by hand onto a scrap from the Gelli print I had used for the insides, cut out and simply glued to the top.


By pulling or pushing the wire ends, which I bent into small loops, you can move the fish towards the sides. That makes it a bit more playful and "interactive". I like art that invites the beholder to play with it and change it to ones own liking.


I tried to keep the shapes, colours and textures rather simple and reduced this time, so the focus would not be drawn too much from the "construction" and main theme of the box.

The feet it stands on were cut from a cork and painted with acrylic paint before I glued them to the bottom of my box. I hope you like my "reef in a box" and that it brings some brightness into a grey, rainy day.

Thanks for stopping by (and also for the comments you leave with me so regularly! These are highly appreciated and always make my day, you know?)!

Hugs and happy crafting,
Claudia xxx

Wednesday 25 March 2015

Manly Metal Mission

Hello and servus!

My stave rhyme (I LOVE alliterations, you know? ;) post title already indicates what my new project as the RGD (Resident Guest Designer) at Our Creative Corner is all about: manly metal - in this case needed for a males birthday present wrap up.

Nothing too elaborate or complicated this time - just a short tutorial on how to create faux metal from nothing but card, paints and some painting techniques.

Sometimes I find it important to focus on the simpler techniques again instead of always chasing the next, even more elaborate and complicated mixed media technique. And to be honest: it isn't about the techniques in the first place - it is about what one creates with them and about enjoying some creative fun.


So get some card out, your most liked industrial embossing folders and metallic paints and create some manly metal makes! Hope to see you over at Our Creative Corner!

Hugs and happy crafting,
Claudia 
xxx


Sunday 15 March 2015

Portrait of a Steampunk Ghost?

Servus and welcome to my share for our mid-month reminder over at SanDee&amelie's Steampunk Challenges!

"Gear it Up!"


is this month's motto and we all love to play with gears and cogs, don't we?


My inspirational offer is a rather quick and easy make this time and it originated from a happy accident while cleaning the (Andy Skinner) stencil I used on this project. To do so I had placed the stencil on a white paper sheet and had wiped the paint off it with a baby wipe. This way I accidentally created a ghostly looking image of the top hatted gentleman:


It reminded me a bit of those wonderful old black and white ghost photographs from the early beginnings of photography.

I really liked that very much so I decided to use it for my "gear it up" creation. I added several tones of distress inks in several ways to the image to make it look stained and yellowed.
Then I die cut a panel shape from heavy cardboard and glued the image onto it. I also stamped some gears and words (and the lovely Darkroom Door lightbulb image) in archival ink and added some die cut gears that had been treated with alcohol inks first.


For a finish I dabbed some black acrylic paint around the edges of my panel - et voila! Geared up and ready to show - my ghost portrait panel!

The March challenge is open until the end of the month and we have Tusia's  fab 7 Dots Studio as our sponsor this time! So don't miss the chance to win!

Hugs and happy crafting!
Claudia xxx


Wednesday 11 March 2015

VonPappe Wednesday Time!

Servus and welcome to a short invitation post to lure you over to That Craft Place Challenges, where I share a new tutorial with you today!

If you want to be taken through a detailed step by step (with a lot of images) on how to create this...


...then the That Craft Place Challenge blog is the right place to go to!

Hope to see you over there!
Hugs and happy crafting,

Claudia 
xxx


Go shopping:


Sunday 8 March 2015

Queen of the Steampunk Angels - a new DecoArt Tutorial


Servus and a lovely Sunday to you all!

Just a quick share today to lead you to the DecoArt Mixed Media Blog where you can find my full tutorial to create this Steampunk Angel Queen.

To get to the tutorial just click this badge:

http://decoart.com/mixedmediablog/project/229/queen_of_steampunk_angels


You will also find some more fab Mixed Media tutorials from the DecoArt International Design Team over there!
Have fun! 

Hugs and happy crafting!
Claudia xxx

Thursday 5 March 2015

"Wings" - The Mirror Crack'd Mixed Media Challenge #7

Servus and welcome to my first post as a DT member of the "The Mirror Crack'd" mixed media challenge blog run by the lovely Lin from Twisted Witch! I love the team's relaxed but profound approach to mixed media so when I read about their DT Call I decided to give it a try...and voila: here I am, bringing to you my first project I made for them!


The theme this month is 

Wings

and we want to see anything (apart from cards) you can create with WINGS. 


If you haven't played one of our challenges by now I recommend you read the page about the TMC definition of mixed media so you make sure you enter a proper make (and thus get eligible for the prize draw). It is of course just one possible approach to mixed media (and one I really like).

I created another art journal page (in my finnabair art journal) and started with cutting a pair of wings from fabric using the Sizzix "Layered Wings" die. I then glued them to the journal page using the Decou-Page "Fabric" glue, which keeps the fabric flexible. While the glue was still wet I sprinkled some Brusho colours onto them - which created the stained effect you can see. 


The page itself was first given some streaks of white Gesso (to stamp the image on) and then I added some additional texture with washi tape and stamped dots.


The image was coloured using Faber Castell Artist Pens. To shade in the silhouette I used a black and red Stabilo Marks it All pencil and a fine detail brush. The quote was printed on the computer and then glued to the page and blended in with Distress Markers. Some more white Gesso added with a palette knife here and there - that's it. I hope you like it! 

I would love to see you enter our "Wings" challenge at The Mirror Crack'd soon! And don't miss on checking out the makes of my fab teamies - you will find loads of inspiration! 

Hugs and happy cafting,
Claudia
xxx


I enter this art journal page to:

Art Journal Journey's "Things with Wings" collection

http://art-journal-journey.blogspot.co.at/2015/03/032015-things-with-wings-dinge-mit.html


City Crafter Challenge Blog, Week 251 - Washi Tape


Rhedd's Creative Spirit - March challenge

and

Simon Says Stamp Monday Challenges - "Just a hint of clover"
http://www.simonsaysstampblog.com/mondaychallenge/wp-content/uploads/sites/5/2013/07/mondayblog-logo.png