Showing posts with label Gelli Plate. Show all posts

Tuesday, 17 March 2020

Art Journal for MarteLAB

Servus, hi and I hope you're all well and not affected too much by the spread of the Corona virus and whatever this brings along!

All over the world nations are trying to starve out the spread and to cope with how this affects everyday life and keeping one's spirit up while facing extraordinary times in isolation...over here in Austria people are advised to keep to themselves and not leave the house other than to shop for food or medicine (or walk their dogs) at least for the next four weeks (but very likely we will have to stick to that for longer than that).

It's spooky having the tele on to not miss any new announcements and directories from our government and one of our two main Austrian TV stations is reserved for broadcasting info on Corona crises developments and measures being taken all day only instead of the usual children's and entertainment program.
Seeing people hoard toilet paper (of which nobody really understands and knows why) and buy survival stock of canned food, water and what have you as if preparing for an atomic threat makes the whole situation even more unreal and weird to be honest. And the fake news that spread so easily across the internet these days bring the most ridiculous "facts" that either make people panic even more or get them to think it is all once more just a joke or the usual conspiracy of the industry or something like that.


Staying at home can be hard for people who are used to leave the house to go to work or school and who have mainly out door hobbies - but luckily crafters and mixed media fans never are at risk of not knowing what to do with their spare time, right?

And to brighten up the mood I have made something play- and colourful for you - another art journal cover - this time using Eileen Hull's "Passport" die, some Aall & Create stamps and stencils and DecoArt media fluid acrylic paints and my Gelli Pate.


Over at the MarteLAB blog there's a stepped out tutorial as well as the list of what I have used to create this art journal. Simply click HERE to get to the tuto with a lot of steps images. I hope this will brighten up your mood! Hang in there, all of you!


Stay safe!

Claudia
xxx


Thursday, 18 July 2019

Pod of Whales Notebook - a Gelli Arts & DecoArt Project

Hi, servus and thanks so much for stopping by!
I hope you have been enjoying a lovely summer so far!

Today's post is meant to invite you over to the DecoArt Mixed Media Blog, where the DecoArt Mixed Media Design Team are sharing projects throughout this month that were all done using Gelli Arts products (Gelli Plates and Gelli Arts gel printing tools) and the wonderful DecoArt premium acrylic paints. A round up of all the projects for July can be found HERE.

The team were all given Gelli Plates and brayers, so we could go wild and experiment and indulge in heavy gel plate printing with creating piles of beautiful prints, some of which we used to create a bundle of summer themed inspiring projects that will all be shared on the Mixed Media Blog during July. You even get the chance to win a fab bundle of Gelli Arts and DecoArt products! Information on how to enter the giveaway can be found over at the DecoArt Mixed Media Blog as well as the Gelli Arts blog.

My project that goes live today was inspired by my love for the ocean and especially for whales, so I went for refreshing blues and greens when picking paints for my gel plate prints ;)


Here's a picture of my work space covered with the Gelli Arts texture tool (the Gelli Plate is hidden somewhere underneath the prints), DecoArt premium (and Americana Titanium White) paints and the prints I had picked for creating my Mixed Media Blog project.


...and here (yay...just found it again!) is the picture that shows all the DecoArt premium paints and Gelli Arts Gelli Plate and special tools I used (and also the die cut masks and foam stamps I used to create my collage papers). Somehow the brayer I used didn't make it into the picture, but it is somewhere close by... no gel plate printing without a proper brayer to spread the paints, right?


In my tutorial that can be found over at the DecoArt Mixed Media Blog today, I am not only sharing a detailed step by step on how to make gel plate prints using masks and stencils and how to create an art journal using these prints together with grey board and cutting die, but I am also sharing how to use the papers you clean the brayer on and make them part of the finished project.


Curious? Good! 

I hope to see you over at the Mixed Media Blog. And good luck with the prize draw!!! ;)

Hugs and happy crafting!
Claudia
xxx


Friday, 25 January 2019

"You Can" - a StencilGirl® Project and a Message

Hi!

When have you last found yourself focusing on what you can do, instead of what you can not or no longer do?
And on which of these two opposing perspectives do you tend to focus more often and more easily?

....well,I guess I am not the only one whose recognition is - most sadly - more trained to detect all my "CANNOTS" and flaws that - if you look at it honestly - are also part of what makes us unique and loveable.
What a boring place of non-individuals our world would be if we were all equally perfect and equally skilled and how boring life would be if we could do whatever we wanted or were asked to to everyone's full satisfaction! No goals to reach, nothing to learn or teach...???


But as a teacher and mother I have learned that our society is already training our children to focus on failure instead of already made achievements - which is a very sad thing and has a massive impact on the self esteem of children at that age.
Most teachers - by having to give marks on their pupils' efforts - are forced to keep up a society that tells people what they still have to improve in and learn - instead of honouring what they have already achieved. The message is "unless you aren't really good at this, you are worthless and not as good as all those who can or do it better than you" - and that's nonsense!

But if we look at it honestly this is also the most common way we look at ourselves as grown ups too! Without consciously noticing we are making ourselves feel small, incapable and worthless on whatever occasion possible....I don't know a lot of people who have managed to get through childhood without being snatched away their self esteem and awareness of the beauty of their uniqueness and individuality.

Things get especially hard to handle when you are taken down by chronic or severe illness. Suddenly you find you aren't "functioning" properly...and with that often come feelings of being broken...of imperfection, worthlessness and incapability....and fear of being inferior. As if our worth for others were solely defined by what we can do for them and by how functional and perfect we are.

I have a dear friend who is going through a hard time at the moment and is facing all that. Even though she would never mention it, I know she is...because I have been there too and haven't forgotten what that did with me and to my self esteem. So I created a little "YOU CAN" journal for her as a gift.


It is another Wrapped Journal made from heavy grey board (and with the use of Eileen Hull's Wrapped Journal die) and some mono printed papers I have recently done on my Gelli Plate using DecoArt Americana acrylic paints and a variety of StencilGirl® stencils from my stash.
(I have a post up on the new German-language blog of Kerstin's and mine in which I am showing a collection of finished prints from that particular Gelli Plate session. If you're interested, you can find it over HERE).

And of course there's a full tutorial (including a short video) on how I have done the prints that I have used on the journal, which particular stencils I have used and how I put it all together over at the StencilGirl® Talk Blog. Simply click HERE to get taken to the full length project post with loads of images. Hope to see you over there!

And I would like to invite you to try to ask yourselves more often what it is that you really ENJOY doing and have already learned and achieved! I will try to do the same ;) 
(I wonder if it has an impact on the art we create....)


Hugs and happy crafting! 
Claudia
xxx


Wednesday, 1 July 2015

Steampunk Tic Tac Toe - the Great SASPC Summer Special Challenge

Hello, servus and welcome to today's start of our great summer steampunk special challenge over at SanDee&amelie's Steampunk Challenges!

As most of us will be on holidays during the next weeks we decided to have this challenge run from the start of July until the end of August - which gives you all two months time to create and enter a project! There are also fab prizes to win (yes, prizes!!! ;)

And who doesn't love and enjoy a round of happy, messy, crafty, artsy Tic-Tac-Toe.....!
So my wonderful DT ladies helped me find a lot of yummy ingredients and I made a (rather sketchy) grid for our challenge:

http://sandee-and-amelie.blogspot.com/2015/07/our-great-holiday-summer-special.html
(click on image to enlarge)


Steampunk Tic Tac Toe is played by choosing one of the horizontal, vertical or diagonal lines' ingredients to use them on your project.

I went for the diagonal line the deep sea, metal paints and crackle and created another shadow-box! (those who already know me know how much I love to create shadow-boxes). ;)


My son loves all those mysterious and wonderful deep sea creatures - and so do I! So I created this shadow box for him and it shows his two favourite animals: the giant squid and the sperm whale  (which is one of my favs too).

They are UmWow Studio laser cut pieces which I covered with a coat of acrylic paint and a coat of clear DecoArt media Crackle Glaze after the paint had dried. The white DecoArt media Antiquing Cream finally made the cracks visible and I think it really looks quite close to a sperm whale's skin! Yay!


The images of the aquanaut and the sunken ship are from an Oxford Impressions stamp set and I painted them with diluted DecoArt media acrylic paint before I fussy cut them and glued some thick foam board pieces to their backs.


For the background of my box and for the deep sea landscape I used designer papers and scraps. The silver-y bubbles were stamped on using DecoArt Metallic Lustre and a 3rd Eye stamp.


The aquanaut's helmet, boots and belt were painted with DecoArt Dazzling Metallics paints.


The black smoker was created using a torn scrap from one of my old Gelli prints.


The box I used for my shadow box was a lid from a(nother) chocolate box I had to empty for the sake of art.


The outside of the frame was painted with DecoArt Chalky Finish paint as it adheres to slick surfaces without any preparation. The sunken ship got a coat of DecoArt media Quinacridone Gold. Because of the paint's translucency the stamped image shows through without any loss of detail!


I hope you like my little deep sea adventure! And I would love to invite you to hop over to our challenge blog and check out the creations of my wonderful teamies who have - as usual - outdone themselves!


I wish you all the most amazing, wonderful, happy, relaxing, inspiring, fun,....holidays and hope to see you over at our summer special challenge during the next two months!

Hugs and happy crafting,
Claudia xxx


Sunday, 5 April 2015

"Masterboard" Challenge at The Mirror Crack'd

Servus, happy Easter and welcome back to another mixed media challenge over at The Mirror Crack'd!

We want you to "make and use a masterboard" this time. A masterboard is a large, self made background piece designed to cut up and used in smaller projects. It can be created any mixed media way you can think of. With paints, inks, spray paints, stencils, stamps,....just to name a few.

Here's what I came up with:


I had some left overs from my last Gelli plate session lying around (you know: that kind of prints you are not really content with but cannot throw away either).
When I found that some of them matched the colour of a (previously emptied) chocolate box, an idea started to form in my head.

I got out my black archival ink, my new Red Lead crows stamp and some DecoArt Misters and created this masterboard:


See how well the chocolate box and the colours of the print go together? Hah - lucky me! ;)


I cut my masterboard to size and glued one of the strips to the inside of the box.


The other two strips were glued to the top and bottom of the box lid. For a finish I added some black and white washi tape here and there - done!


My team mates have created the most amazing masterboards (and projects from them) too - so make sure you hop over to the The Mirror Crack'd challenge blog and see for yourself!

Good luck with the challenge (I can't wait to see your masterboards and creations) and hugs and happy crafting,

Claudia xxx

Sunday, 29 March 2015

"Reef in a Box"

Servus and welcome to a rather colourful post on a rather grey in grey day (at least over here in Vienna).

I had this small wooden box lying around in my studio for quite some time now - waiting for the right idea to come along. I am a hoarder of boxes....all waiting for that inspirational spark to hit my brain so they can be transformed into something new and full of wonders.

When I was tidying up my desk and also sorting some of my rather unorganized boxes with loads of tiny bits 'n bobs in them yesterday, I stumbled upon three wonderful shiny red glass beads in the shape of fish (which I had also been hoarding for ages). Then there was this stack of Gelli prints sitting on my desk too....and all three together suddenly totally made sense: they had to become a tiny "reef in a box" to play with (or simply to look at and take you on a short (and completely dry) snorkeling trip!


I used some wire to put the fish on so they could be moved sideways and change position.


The background was a Gelli print I cut to size and glued to the inside of my box using DecoArt matte Decou-Page. The sea plants and corals were die cut and painted, some of them also were treated with DecoArt clear Crackle Glaze and Antiquing Creams to add some texture. The reef they're sitting on was torn from designer paper.


The outsides of the wooden box were painted with DecoArt Americana Chalky Finish paint "treasure" and Americana acrylic paint "Citron Green".

The words were written by hand onto a scrap from the Gelli print I had used for the insides, cut out and simply glued to the top.


By pulling or pushing the wire ends, which I bent into small loops, you can move the fish towards the sides. That makes it a bit more playful and "interactive". I like art that invites the beholder to play with it and change it to ones own liking.


I tried to keep the shapes, colours and textures rather simple and reduced this time, so the focus would not be drawn too much from the "construction" and main theme of the box.

The feet it stands on were cut from a cork and painted with acrylic paint before I glued them to the bottom of my box. I hope you like my "reef in a box" and that it brings some brightness into a grey, rainy day.

Thanks for stopping by (and also for the comments you leave with me so regularly! These are highly appreciated and always make my day, you know?)!

Hugs and happy crafting,
Claudia xxx

Tuesday, 12 November 2013

More Gelli Plate Adventures

When I first saw monoprints done with the Gelli Plate I was instantly intrigued - not only by the cool idea for this clever product but by the special appearance of monoprints in general. As they are built up from layers and "used" and "blank" space, from overlapping colours and shapes you never really have complete control over the finished project - which is something that I love AND struggle with at the same time....

...coming from arts university (where I was tought a lot of old school painting techniques and the dogma that only art that is created in complete control is "good art") the discovery of all those messy techniques in the world of mixed media, stamping and scrapping was such a gift to me. Suddenly I had found a place in art where I felt I belonged. Suddenly I felt freed from some "wrong idea" about art that had been holding me down for so long.


Monoprinting with the Gelli Plate takes me back to my students days - when I tried to work out how to become a painter in complete control of the colours (which actually still is something I am not good at as I am more the graphic art type)... I had to redo a lot of lessons from the painters masterclass honestly and never really managed to find my way into creating with colours without having this feeling of "insecurity" in my head. I always knew I am no painter and I believe that nothing can turn you into a painter if you simply aren't already deep inside of you.


So my first struggles with the Gelli Plate came as no surprise to me...and I knew what it was that made me want to master this medium and let go of control at the same time ;)
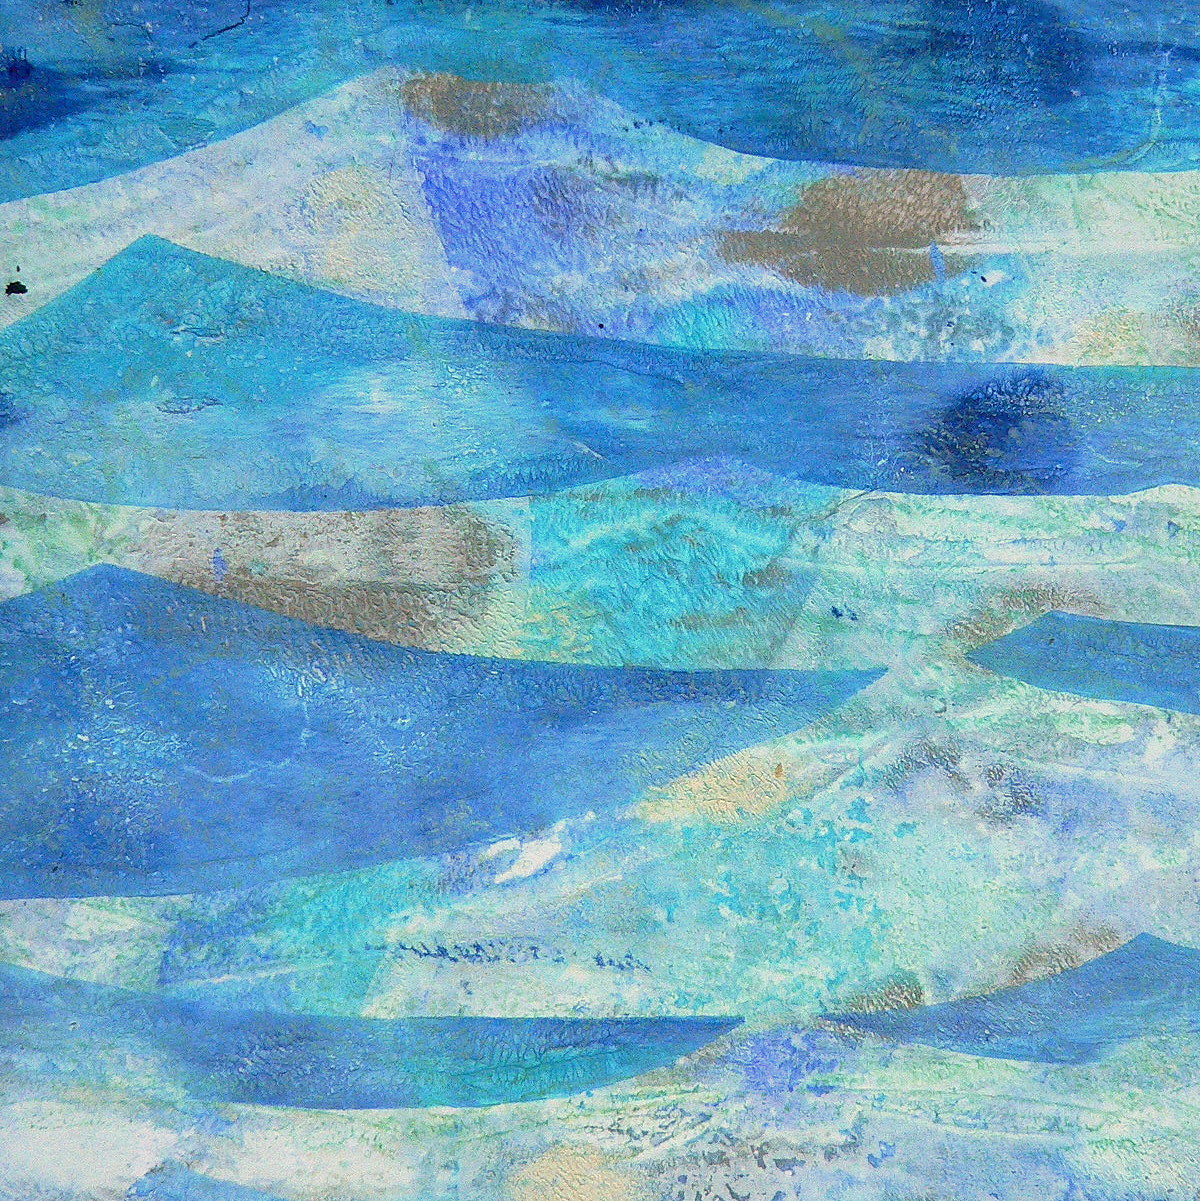
Well, maybe you now can imagine my joy with those first results I want to show you today - it's paint on the paper! And it even mixes up into something that looks not only cool but also joyful. (and you can still see the graphic art girl in them too *lol) ;)

Hope I did not bore you too much with my blah blah, but it just had to be said aloud I guess. Please, bear with me and enjoy the prints.


Hugs and happy crafting!

Claudia x

Monday, 11 November 2013

Finally....

...the Gelli Plate found its way to my home too! ;)

And honestly after the first two days of trying it out I thought I would rather kick it into the bin as I really really messed up. *lol
But I know (and honestly have been knowing it before) - I am a way too tidy girl for a printing medium like the Gelli Plate, so I tried again...with my cheapest acrylic colours and paper (so I would not try too hard not to waste all the precious media)....and this time I actually liked the outcome. So I dare show you *giggle.


Honestly - I don't know what I like better: the papers I "created" by cleaning the brayer (in the upper right corner) or the prints ;)

But I know for sure that Gelli printing needs a loooot of practice to gain control (if that is what you aim for after all). So I will keep on practicing....

Hugs and happy printing/crafting,

Claudia x