Hi, servus, and thanks so much for stopping by this little very quiet corner of the crafty online world.
I hope you are well and creatively thriving!
It's getting cold over here in Upper Austria and autumn has finally taken over! The picture below was taken on one of our trips to Gmunden at beautiful Traunsee (Lake Traun), the lake next to Lake Atter (Attersee) in the Salzkammergut, where I now live.
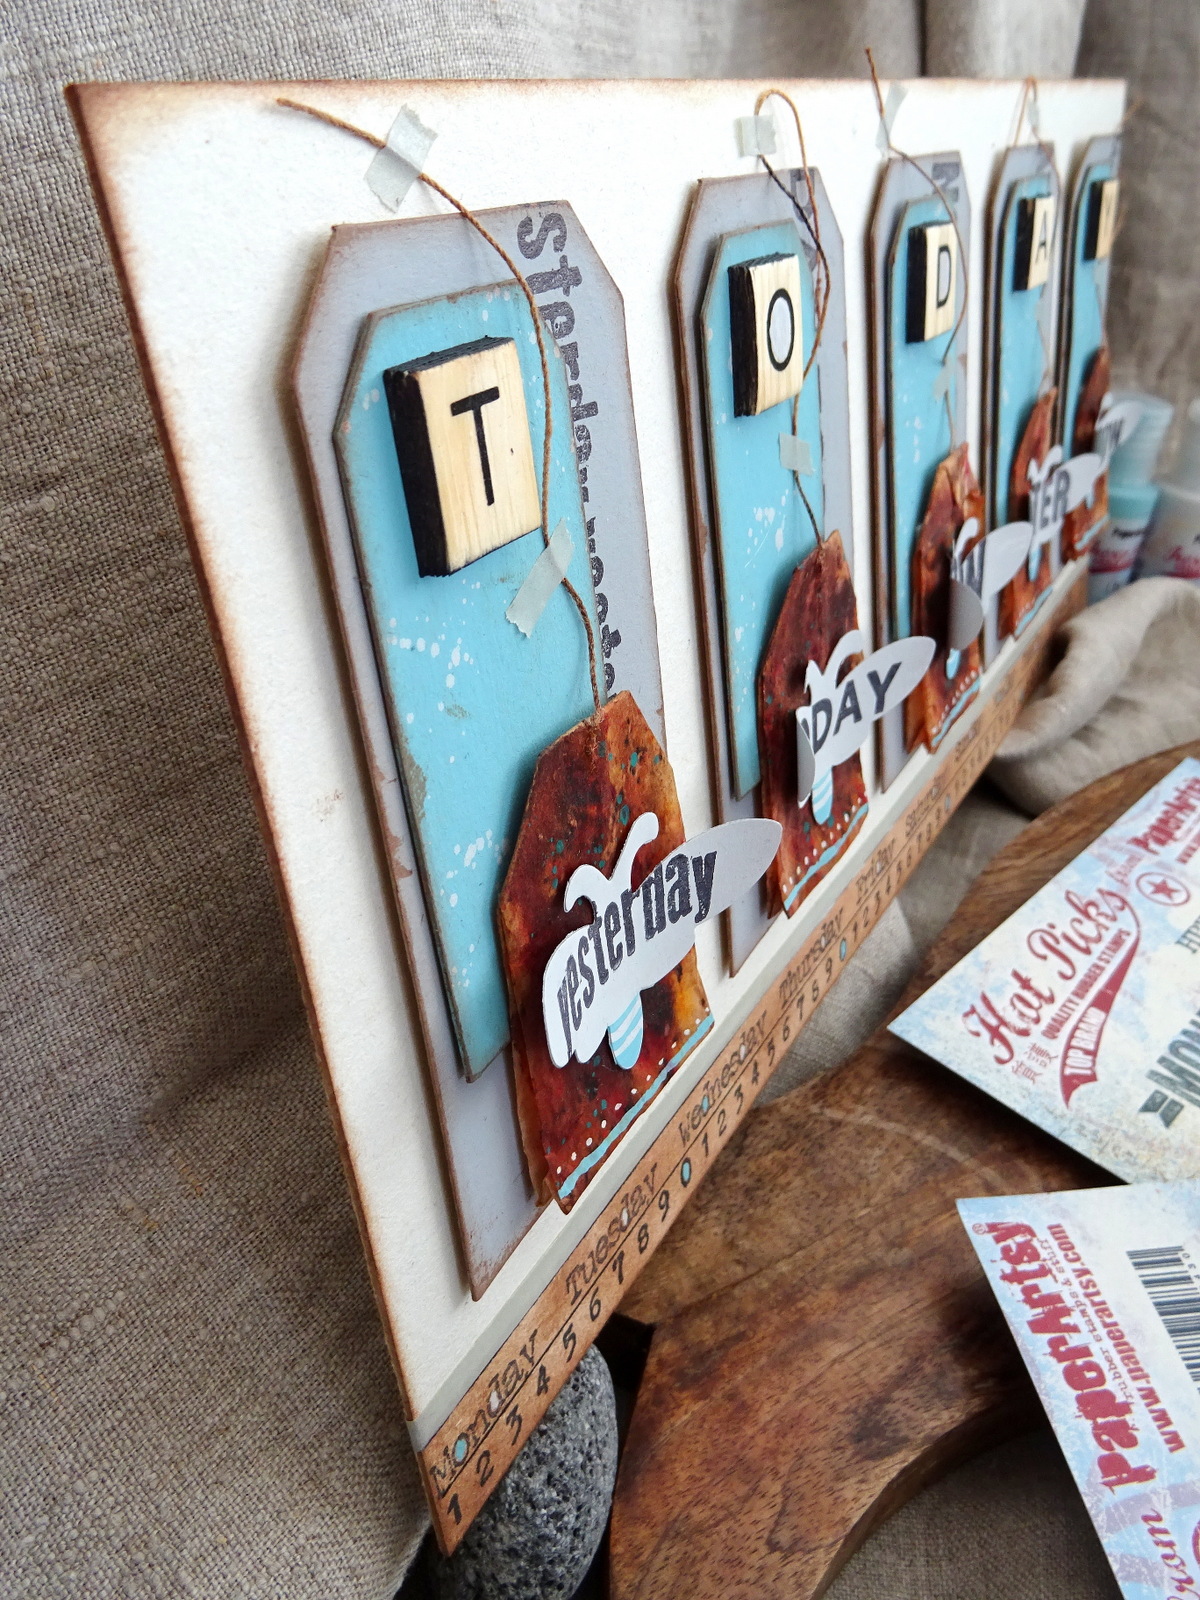
PaperArtsy Project
...and the
StencilGirl Talk blog, where you can find my latest projects (with the usual how-tos of course).
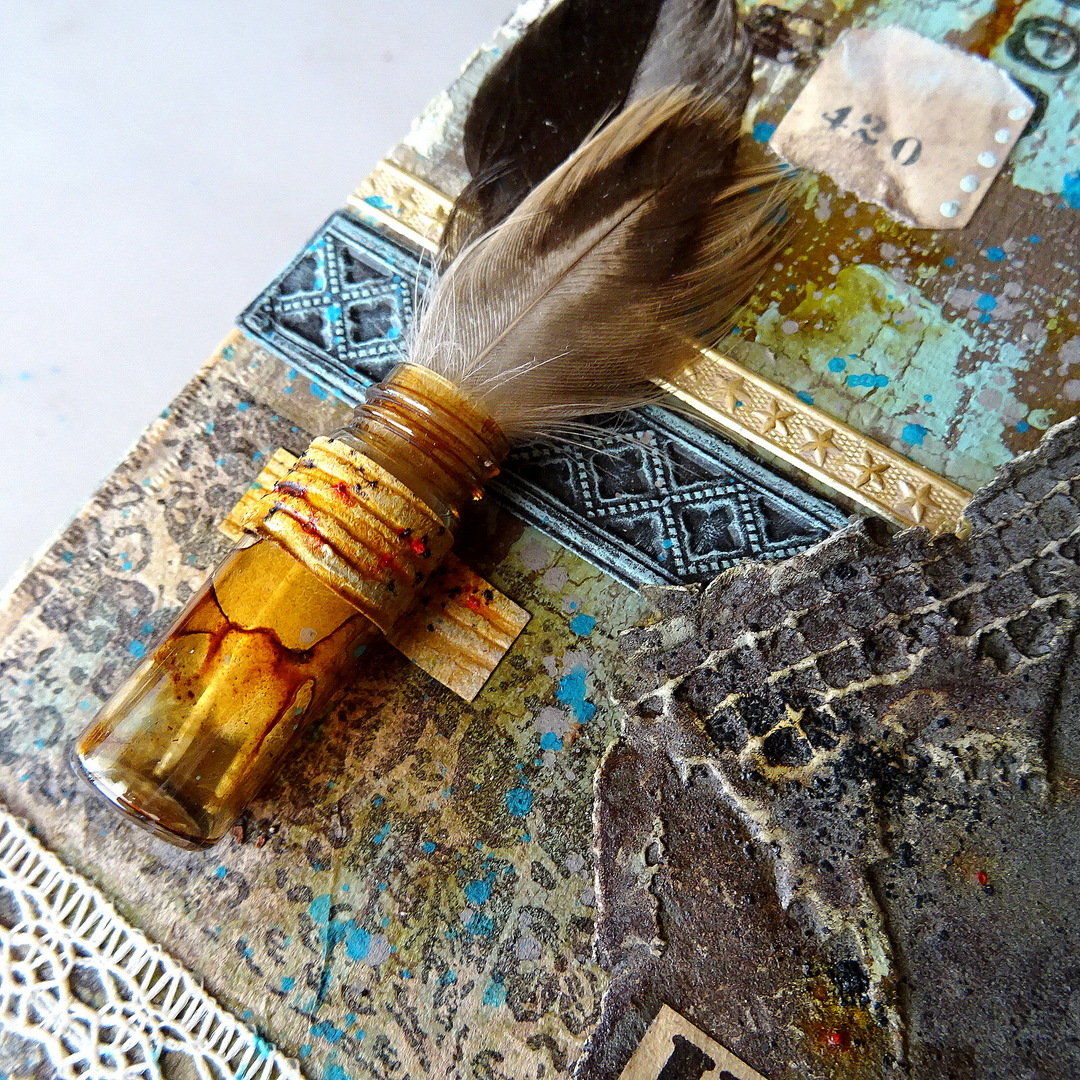
StencilGirl Project
These are the only two design teams that I am currently on. They are the ones that I feel at home with as they leave me as much creative freedom as possible and I also really feel appreciated there and seen and can work for them in a way that makes dealing with my challenging menopause symptoms manageable.
But I am still not really back into something that you could call a creative flow or anywhere near that and that feels awful. As if one of your legs has been severed, so now you cannot use it anymore to stabilise yourself. Part of this has been caused by the hormonal chaos from the last four years that brought me heavy sweating, trembling hands and panic attacks - not only but also and especially when I approached my studio desk (and especially when that was connected with some deadline that had to be met)...but recently I could not help the thought, that part of this has been caused by a mechanism that's inherent to this crafty online designer stuff...
What I did, when everything got too much to handle, was reduce the number of design teams I was on significantly and that helped a bit. I also significantly reduced my (not only crafty) online time to focus on my actual needs, when it comes to be a creative person. I knew that I needed to give myself the time to find out where I wanted my creative journey to lead to next - without any influence from outside. A lot of time maybe.
But now I am still not back to a state where I feel I can craft and create just to help myself to some relaxing and enjoyable me-time (as it used to be back when everything was fine). Something has taken this "right" from me and every time I sit down on my crafting desk, a voice in my head tells me: "This isn't a design team project. It's not something that fulfils a purpose. It's not even a project to share on one of the large fb groups like Tim Holtz Addicts or via a challenge, so it won't be seen anyway. So why craft anyway?"
And part of me knows that this is just utter nonsense and that I should be creating for the simple reason of just wanting to and having a good time. Like you do a puzzle or like reading a good book. And part of me knows that I do not really care, if anything I create is seen and liked by a lot of people. I know how much time, pressure and hard work goes with online crafty influencers' fame - and that I have no intention of investing that, as it hardly ever comes with any gain other than being seen and known...and I also know that as soon as you stop investing that much of your (spare)time and energy in this, you are forgotten.
I know that by now a huge part (I even dare say the main part) of social media (crafty) content is advertising of one sort or the other. And I have watched how over the years (I started blogging back in 2014) it kind of became a logical part of creative blogging for everyone that you were on design teams (plural, because one or two just do not look "famous" and "creative" enough). And also that (unpaid for) branding in one's private blog posts became a state of the art. I did that too - because I felt I wanted to provide the most helpful content possible. But looking back I think that was a mistake. One that most of us did - I guess for the exact same reasons at first. But that changed and became a means to get seen by the manufacturers or brand designers...and maybe get on their design teams. And the manufacturers watched and saw the potential of getting lots of (unpaid for) advertising this way.

That felt okay for me as long as what was asked from a designer was something that could be done within little time and still felt like joyfully pursuing a hobby. And back then doing some advertising and creating content for a manufacturer or shop in exchange for the products the projects had to be done with, was a fair bargain from my point of view. Then - some day - someone started to post a short video about her/his project...and the creative community started doing the same, as this was really cool and something that stood out (at least at the beginning). Then design teams started to ask that from their designers too. For the exact same expense allowance as before - product that was meant to be advertised. You know how the story continues...picture quality and good lighting, filming equipment, ....all that was something that designers needed to provide at some point, if they wanted to make sure they would keep up with the constantly growing standard. At one point the filming, cutting, post write up and shooting the project had become three to four times as much time and effort than what went into the project itself and the creative process.
I know some design teams pay for that - and that cannot be validated highly enough!!!! I am a lucky person to work for one of these (and also worked for others who paid for the effort in the past) and I also love creating for the other one, where I get product in exchange, as they offer the freedom in what to create and how to present it. So that's totally fine for me. If I want to invest more, because I feel like it - fine! If I can only provide the minimum that's required - no problem, as it is still manageable for me. But I think you know what I am trying to say. A huge deal of content creators still do it unpaid for or have to invest more time and energy than they feel they are getting rewarded for. And during the years I have also watched several going down that same road of exhaustion and/or frustration that I did...there definitely is this kind of addictive behaviour mechanism involved in the setting of social online media fame and advertising. And it eats you up without you recognising it. And it damages your creativity and how you approach your creative process. Don't get me wrong - if you are absolutely fine with your current design team situation, then I am happy for you. I really am! I am not writing this to accuse anyone - I just want to put down and into words what I feel I am witnessing and experiencing. Just my personal view on it, including also the perspective on where I feel I went wrong or could have done better.
Of course I felt that pressure too at one point (before everything started to get challenging for me) and tried to keep up with video filming and editing skills and such. And that was fun on the one hand, as I learned something new. But at some point I found myself in that same spot where I was investing an insane amount of time (and also money for equipment) in something that obviously part of me dreamed would lead me on the way to fame (and maybe one day making a bit of money with it)...instead it led to exhaustion and frustration (which often happens when design team leaders are not good at leading and/or giving precise guidelines and you then also find yourself struggling with chaos you cannot control and that costs you extra time and nerves...I think you can imagine what I am talking about). And that coincided with menopause hitting me like a truck out of nowhere.
So today I cannot tell if the symptoms became that bad, because I also had a lot of stress at that time (stress that I wasn't aware of having) or if it was the other way round. Fact is: something broke inside of me during these months. I couldn't enter my studio without getting hot flashes, constant sweating and trembling hands. And that wasn't only because it was the warmest room in our flat...it sometimes still happens when I enter my new studio in our house. I also get flashes and start to sweat when something (not just when crafting) gets fiddly or needs several tries for example. It has gotten better - it seems I am through the worst of menopause by now. But I have recently been diagnosed with a state of exhaustion and have also been forced to adapt to chronic migraine during the last year - which forces me to be more aware of my energy household and stress levels.
Spending time out in nature really helps a lot!
Hinterer Langbathsee (rear Lake Langbath) close to Ebensee
High quality me-time is suggested to keep stress at a minimum. Which brings me back to where I started this post...I would so like to enjoy creative me-time again and lose myself in playing with dies, paints, stencils and all the other awesome mixed media stuff, but it is still a struggle...so I think I will need to find a different approach to get some happy crafting time again. Or maybe I need to focus on something else for now. As long as I stay open to new possibilities and true to myself, things can only get better. Maybe it just needs more time. Maybe I need to let go first, before I can start again from a different spot with a different view.
I do not write this to arouse compassion. I am fine. I just miss the happy studio days and cannot understand why these are "unavailable" to me. And something tells me there might be someone else out there, going through a similar situation. Just know: you and I will be fine again. We will find our new creative paths - or rather they will find us, as long as we stay open to new discoveries.
Take care! xxx




.jpg)




.jpg)


