And I knew that I had to trick myself so I wouldn't erase and correct my "mistakes" all the time (and until I had erased a hole in my heavy artists paper). So I forced myself to "draw" the first rough (and quick) sketch with a soft brush and walnut ink and focus on the shades first instead of trying to get all the proportions and parts of the face in the right places and shapes. And that worked just brilliantly!!!
I took some steps images so you can see how I approached the portrait:

Step 1
I quickly painted shapes and layers and did some rough shading
using a soft brush and the diluted ink

Step 2
For details I went in with a dark brown wax crayon

finished sketch
Next I sprayed on two coats of heavily diluted DecoArt media Matte Medium to seal my sketch so the ink and crayon would not react with the water and wet paints.
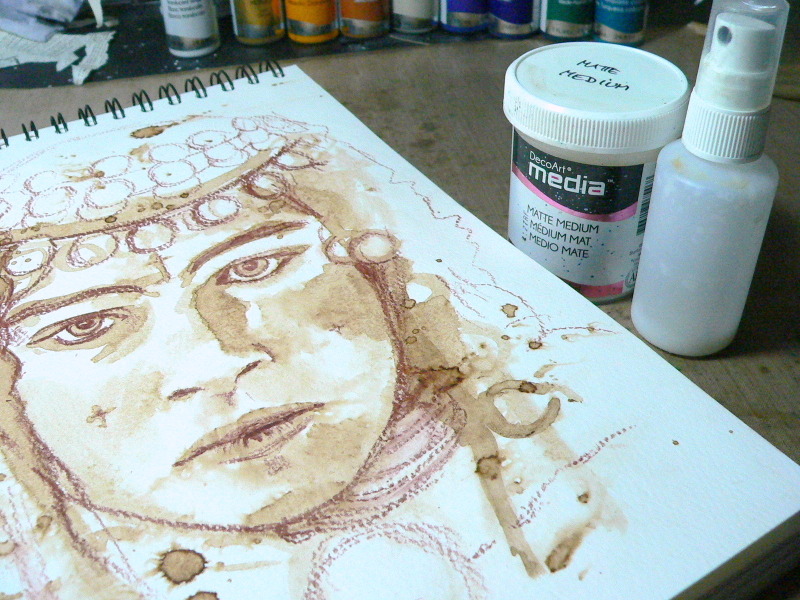
Then I made a copy of the sketch to use as a mask in the steps to follow.


I let the modelling paste dry naturally (using a heat tool can cause bubbling). In the meantime I cut a lot of small circles from old book and magazine pages. I cut them by hand so the shapes were irregular and therefore not perfect circles as perfect circles quickly get too dominant in a painting and look too artificial (which doesn't go well with handpainted projects).
The cut out circles were then glued onto my sketched portrait using DecoArt media Matte Medium.

In a later step I painted them and outlined them roughly, seeing to it that I ended up with various shades of natural whites, browns and orange. Some were painted with DecoArt media Translucent White, which makes toning in collaged on elements really easy. The dark brown colour between the circles was painted in using Raw Umber DecoArt media fluid acrylic and a fine tip brush.

I added some doodling with a white Sharpie, dots of acrylic paint, DecoArt media Metallic Gold paint and smudged outlines with a watersoluble black pencil and a wet brush here and there.

The stencilled on texture was first given a wash with diluted DecoArt media Raw Umber fluid acrylic and once that had dried I rubbed on some DecoArt "Brilliant Turquoise" Metallic Lustre. I also painted some of the glued on circles and shapes with the Metallic Lustre (using a soft brush and little water).


I added washes and scraped on layers of DecoArt media fluid acrylics Diarylide Yellow, Burnt Siena, Transparent Yellow Iron Oxide, Quinacridone Burnt Orange, Titan Buff and Raw Umber alongside some scraped on black and white DecoArt media Gesso.

Using the palette knife to scrape on and layer paints creates a lot of depth and texture.

I finished up my painting by highlighting the eyes (with white paint and a black brush tip china ink pen) and adding some white, red and black doodling to some of the collaged on circles.

And here she is:

I hope you like her as much as I do!
And I just discovered that I am well in time to join in the lovely and utterly inspiring community of "Show Your Face" - hosted by the wonderful Kim Dellow!
To find out more about it and this weeks link up collection, click HERE.
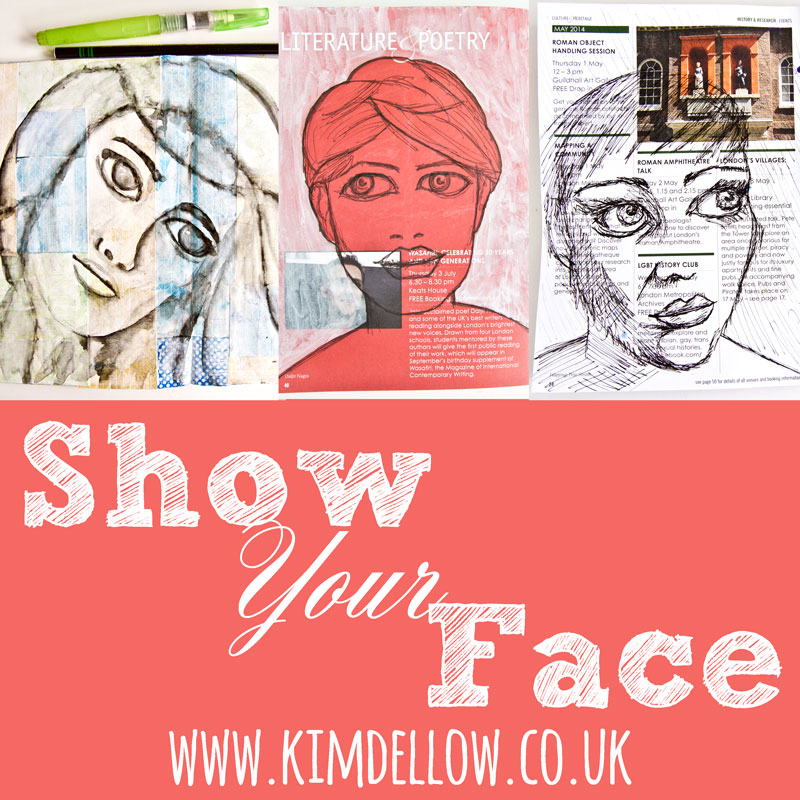
And I just discovered that I am well in time to join in the lovely and utterly inspiring community of "Show Your Face" - hosted by the wonderful Kim Dellow!
To find out more about it and this weeks link up collection, click HERE.
Hugs and happy crafting,
Claudia
xxx