Monday, 1 June 2020

Steampunk Birthday Tag for SanDee&amelie's June 2020 Steampunk Challenge

Hi, servus and welcome to the launch of our June challenge over at SanDee&amelie's Steampunk Challenges! Over at our challenge blog a new challenge and some new inspirational projects by my wonderful design team are awaiting you!

The theme is as always "Anything Goes - Steampunk/Industrial" - so just enjoy some steampunk or industrial style fun the way that makes you feel best and play along! As always we will give away two prizes from our generous sponsors DecoArt and boozybear - so don't miss the chance to win one of these! ;)

My make for June is a birthday tag with loads of delicious crackle and a special mechanical heart!


I had been given a lovely dies set to create a steampunk heart with loads of cogs and gears quite some time ago and now it was finally time to play with it!


A lot of paint layers, dry brushing, toning down and highlighting again went into my steampunk heart and I really loved building my own mechanics by die cutting some of the gears several times and combining the many different parts in a playful way. Next time I use this heart it will for sure have a different mechanism ;)


I started by die cutting the heart's base and all the cogs and gears from heavy black cardstock. To make the heart even more sturdy I cut another heart shape from some cardboard packaging to glue it behind the die cut heart.


I used the "Foundry" 3D embossing folder to add some texture to the die cut heart before I glued the sturdy back to it. Then I started building "clusters" of cogs and gears. As some of the pieces were really tiny, I used diluted DecoArt matte Decou-Page and a detail brush to apply the glue and to fix the small bits to their proper spots.


This is how my finished heart looked once it was ready to get painted:


I started by dry brushing on layers of DecoArt premium Titan Buff and Burnt Sienna acrylic paints.


Then I went for a rusty, brown-ish look and added more dry brushed layers - this time I used Titan Buff, Burnt Sienna, Quinacridone Gold Hue and Transparent Yellow Iron Oxide.


I actually liked that, but I wanted to go for something a bit brighter - so I decided to add a bit of "patina" by dry brushing some spots with Cobalt Teal Hue.


I loved that version too...but for this particular tag I had a background in mind that would need something more contrasting and bright...so I decided to try a third version (isn't it a good thing that you can paint over acrylics again and again?).

I toned everything down with a subtle dry brushed on layer of Carbon Black and then kind of started anew - though the layers that were already there were definitely adding a lot of depth to the end result - so these weren't done in vain.

This time I started by dry brushing the centre of the heart with Titan Buff first, letting the intensity of the layers fade out towards the outer edges. I added about three layers of Titan Buff this way, making sure they all faded out nicely and turned the very centre brighter and brighter. Next I made the centre the brightest spot by adding Titanium White and not spreading that too much. That was the base for the colours to follow: mixes of Titan Buff and Diarylide Yellow, Diarylide Yellow and Vermillion Hue, Vermillion Hue and Pyrrole Red but also the pure colours in between to achieve a kind of blend with the most intense red in the centre.


Yep! I definitely liked that and it was perfect to contrast the background colour I had in mind for my tag. But first I added DecoArt Metallic Lustres Black Shimmer and Radiant Red here and there using my fingertip.


My tag (which was die cut from very thick grey board) first got a thorough layer of DecoArt Americana Lamp Black acrylic paint and one that had dried I applied a generous layer of DecoArt Weathered Wood. I made sure I changed direction while brushing on the crackle medium - this way I would get nice variations of the cracks' directions.


Once the Weathered Wood had dried to the touch I used a very soft wide flat brush to gently apply a layer of DecoArt Chalky Finish paint "vintage". I didn't cover the tag's edges so a black border would remain visible.


The crackling happens so fast that you shouldn't work over the same area twice! 

I definitely liked the result! The very tiny cracks where there is only a very thin layer of paint - and the larger ones where the paint was applied thicker.


To repeat the red from the heart I sprinkled some drops of red DecoArt media Mister to the tag.
I also applied some Black Shimmer Metallic Lustre around the tag's edges.


Next I toned everything down with a very thin wash of Transparent Yellow Iron Oxide media fluid acrylic paint.


The background was still missing some interest - so I added a bit of stencilling  using some of Andy Skinner's DecoArt stencils and DecoArt Americana acrylic paint French Vanilla.


On top of that I added another thin wash - this time of English Red Oxide.
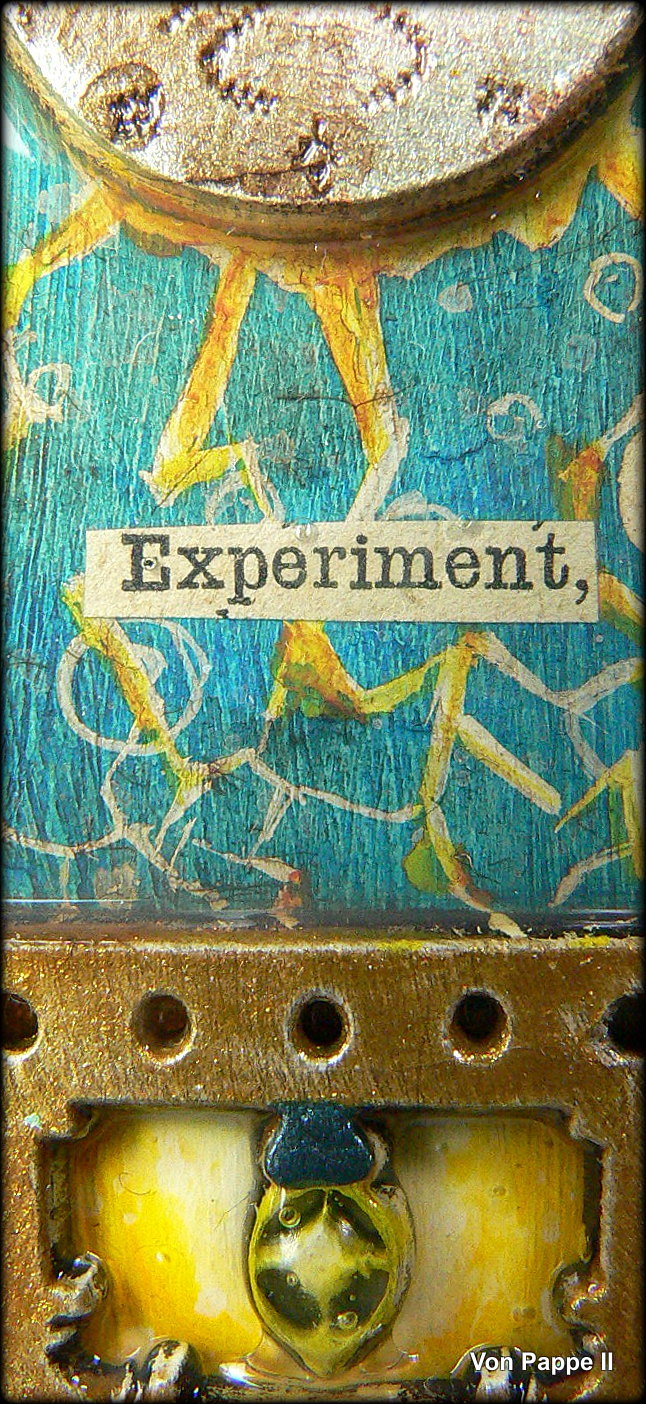
To finish off my tag I added a word sticker that I shaded in using my Stabilo All pencil and a wet brush. The heart was fixed to the tag using very thick sticky foam pads for additional dimension.


Done! 


Some detail shots: 


I hope you like my tag! There are a lot of different dies sets out there to create this kind of layered steampunk heart - so I am sure you will find the one you like best. And of course the techniques shown and the design can be used on any other kind of theme.


I hope to see you over at SanDee&amelie's Steampunk Challenges soon! And I promise you will love the team's inspirational projects this month!

Hugs and happy crafting!
Claudia
xxx


Monday, 25 May 2020

#11 from my Collection of Steampunk ATCs

Hi, servus and...yes, I promise this will be the last steampunk themed ATC for now. lol

But there are so many awesome steampunk ATC frames to find in the Calico Craft Parts online store...and I love them all to be honest...so I cannot promise I won't be doing any more at some point this year. ;)

#11 has a story to tell and that story is kind of connected to the ATC I shared two weeks ago, as it might show the origin of the octopus-diver-creature - a machine created by an insidious inventor...


Lots of gears, light bulb indicators, electricity and a cruel experiment...


If you want to find out what I have used to create  #11 and check out the whole finished ATC, simply hop over to the Calico Craft Parts blog by clicking HERE.

I hope to see you over there soon!

Have a good start into the week!
Claudia
xxx


Monday, 11 May 2020

Steampunk ATC #10 - for Calico Craft Parts

Hi, servus and thanks for stopping by!

I am sharing another steampunk themed ATC today - this time over at the Calico Craft Parts blog.
Recently Helen, the owner of the Calico Craft Parts family business has released several new steampunk themed ATC blanks with beautiful frames and I fell in love with them all! So there will be more ATCs in the future ;)

#10 (counted from all my count-worthy steampunk themed ATCs so far) was a wood shapes match made in heaven! The awesome Deep Sea Octopus Diver wood shape (one of my all time favs) in smallest size and the ATC frame went together just beautifully!

And this is the result - or at least a sneak peek. The full finished project and a bit of a walk through and lists of Wood Shapes and paints and media used can be found over at the Calico Craft Parts Blog of course.


Hope to see you over there soon!

Hugs and happy crafting!
Take care!

Claudia
xxx


Friday, 1 May 2020

The Inventor - for SanDee&amelie's Steampunk Challenges

Hi and servus! Time to kick off our new challenge over at SanDee&amelie's Steampunk Challenges!
Our April challenge is once more an "Anything Goes - Steampunk/Industrial" themed one and my make for your inspiration this month is another ATC.

I just love this format and I found some beautiful Victorian style ATC frames at Calico Craft Parts! They are made of MDF and therefor quite sturdy - which means they can take a lot of mixed media! Perfect for me!


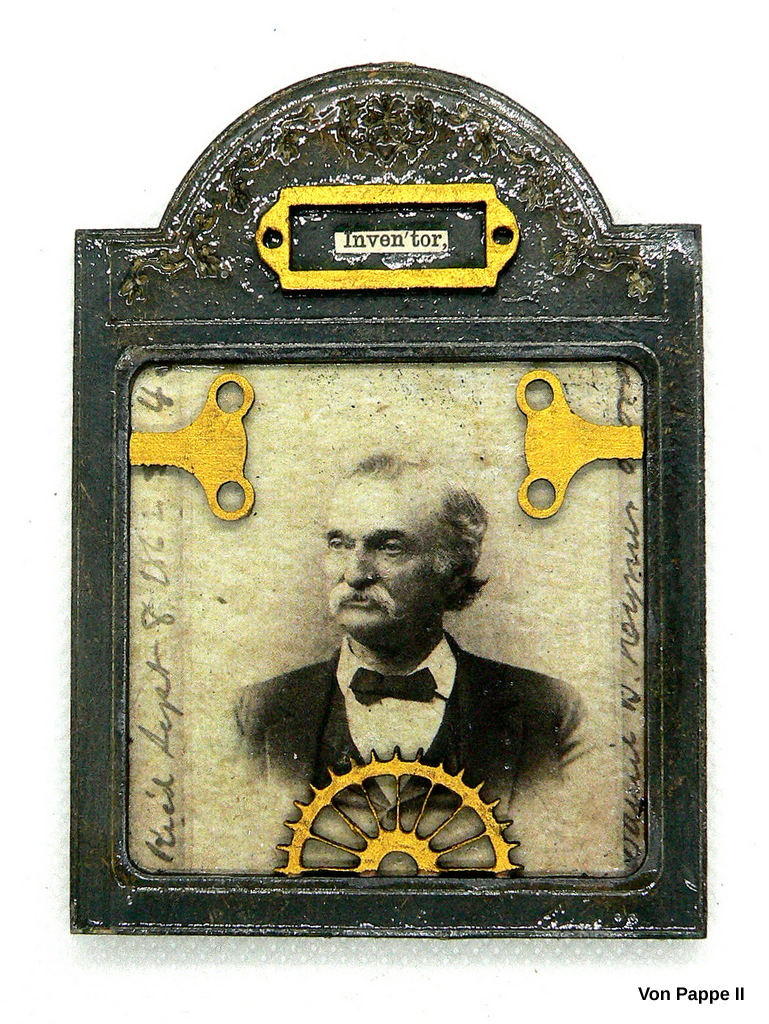
"The Inventor" is my latest ATC from my slowly but steadily growing steampunk ATC collection and it is once more a portrait taken from a paper stash by Tim Holtz that I have used and combined with some Calico Craft Parts and DecoArt paints and products.


To achieve the glossy and dimensional look on the frame I've used DecoArt Triple Thick. I just love that stuff!

But let's start at the beginning of the process! First I cut the portrait to size so it fit into the frame opening. Next I glued that to the backing panel of the ATC frame and the frame on top using DecoArt matte Decou-Page. I like to use cloths pins to keep everything in place during drying times.


Then I applied a thin coat of DecoArt Americana Lamp Black acrylic paint in dry brushing technique to not lose any of the engraved ornaments and lines on the ATC frame.


I used my heat tool to dry the paint before I went in with a generous coat of DecoArt media Titanium White Antiquing Cream.


I made sure the Antiquing Cream got into all the engraved lines and details!


I let the Antiquing Cream cure before I wiped it back with a soft damp cloth.


Using my heat tool again I made sure everything was dry before I added a generous coat of DecoArt Triple Thick to the ATC frame.


While the Triple Thick was still wet I put the little Calico Craft Parts label holder in its proper place and carefully put the cut out "Inventor" word inside - with the Triple Thick still working as a glue.


I decided to go all glossy and added a thinner layer of Triple Thick to the portrait too. This time I added two small wind-up keys and a cut in half cog and painted these and the label holder with DecoArt media Metallic Gold fluid acrylic paint.


All I needed to do then was wait until the Triple Thick had dried naturally. ;)


I love that frame and the symmetry and how the "inventor" word piece sits embedded into the Triple Thick and contrasts the glossy texture with its matte surface! 

I hope you like it too! 
I can't wait to see you play along and enter your makes too! 
See you over at SanDee&amelie's Steampunk Challenges! Simply click HERE to get to our challenge blog! 

Hugs and happy crafting!
Claudia 
xxx


Monday, 27 April 2020

Dreaming Myself Away Creatively in Times of Corona

Hi, servus and how is everyone doing these days?

Austria is taking first steps at getting back to a "normal" everyday life; "normal" meaning as normal as possible with the Corona virus still out there. Face masks, keeping one to two metres distance to everyone who is not living with you in the same household and special time tables for school kids will be staying part of that "normal" life (with schools and kindergardens and shops reopening again) for quite some time I guess. No one knows how summer holidays will look like and if these can be spent the way we usually do....

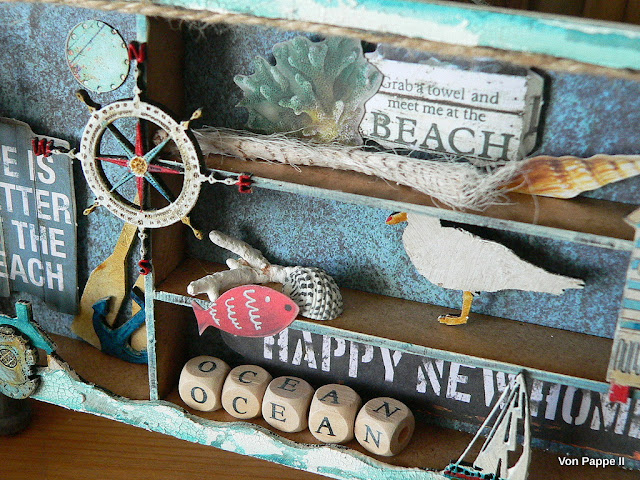
...so I decided to at least do some fantasy holiday travelling creatively on my desk and go to the beach!


Using one of Calico Craft Parts' printer's tray kits and other craft parts from their amazingly wide range of maritime and seaside themed wood shapes and combining these with stickers and designer papers and some DecoArt media goodness was great fun and creating my shadow box was a lovely relaxing time spent in my studio.

To see which Calico Craft Parts I have used and how I made my Beach-Holiday-Tray simply click HERE to get to the according blog post.

Stay safe and keep creating!
Claudia 
xxx